01
AT DISPATCH
CHECK IN
Get your route assignment from dispatch.
 Slide configuration ↗
Your selection personalizes the slideshow and remains saved on this television.
01Key standards for loadout, route completion, package care, proof of delivery and driver safety.
02Six clear steps create a safer, faster and more organized start to every route.
Get your route assignment from dispatch.
Complete check-in at the dispatch desk.
Organize packages clearly with a marker.
Review the route with your dispatch team.
Take the cart outside and load safely.
Stay alert and safe on the road.
03Mailboxes are reserved for United States Postal Service use only.
Use the front door, porch, parcel room or another approved location.
Review the customer’s access instructions before completing the stop.
Show the package and enough surroundings to identify the location.
04Every parcel should arrive in the same condition it was received.
Look for tears, leaks, crushed corners or exposed contents.
Keep heavy items low and prevent packages from shifting in transit.
Set each package securely at the final delivery point.
05Packages with tears, leaks, sticky residue, stains or other visible damage must be reviewed by dispatch.
 Tears
Tears Leaks
Leaks Sticky residue
 Stains
Do not add a visibly damaged package to your route.
At the hub, bring it to the dispatch desk immediately.
On the road, contact dispatch in the driver app and wait for direction.
Share what you observed, including leaks, odor, broken contents or contamination.
06Deliveries outside the approved location now require dispatch review.
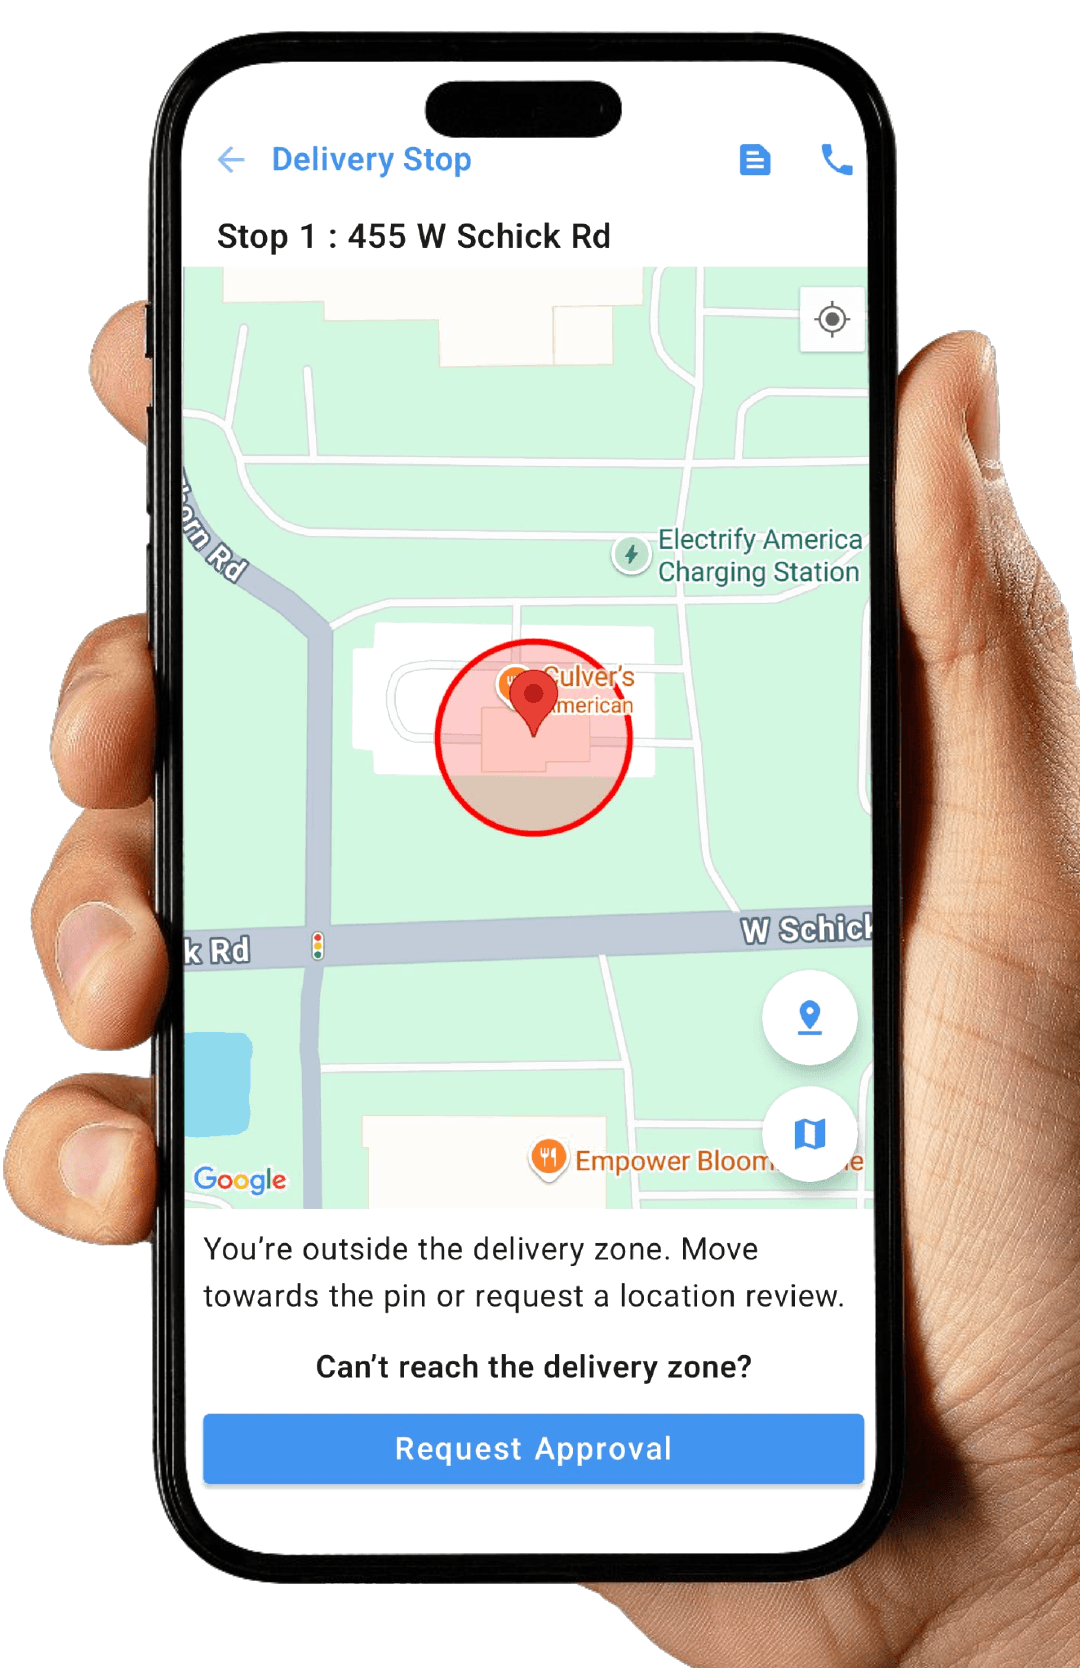 07
07Plan ahead and communicate early whenever conditions change.
Review remaining stops and estimated completion time throughout the route.
Call dispatch when weather, access, vehicle or app issues may cause a delay.
Each parcel must be delivered or returned according to dispatch direction.
08Recommended for all driver partners—especially in low-light or high-traffic areas.
Stay visible around moving vehicles, carts and loading areas.
Wear your vest at dusk, at night and during poor weather.
Use it in parking lots, apartment complexes and roadside locations.
09Add it back to the app.
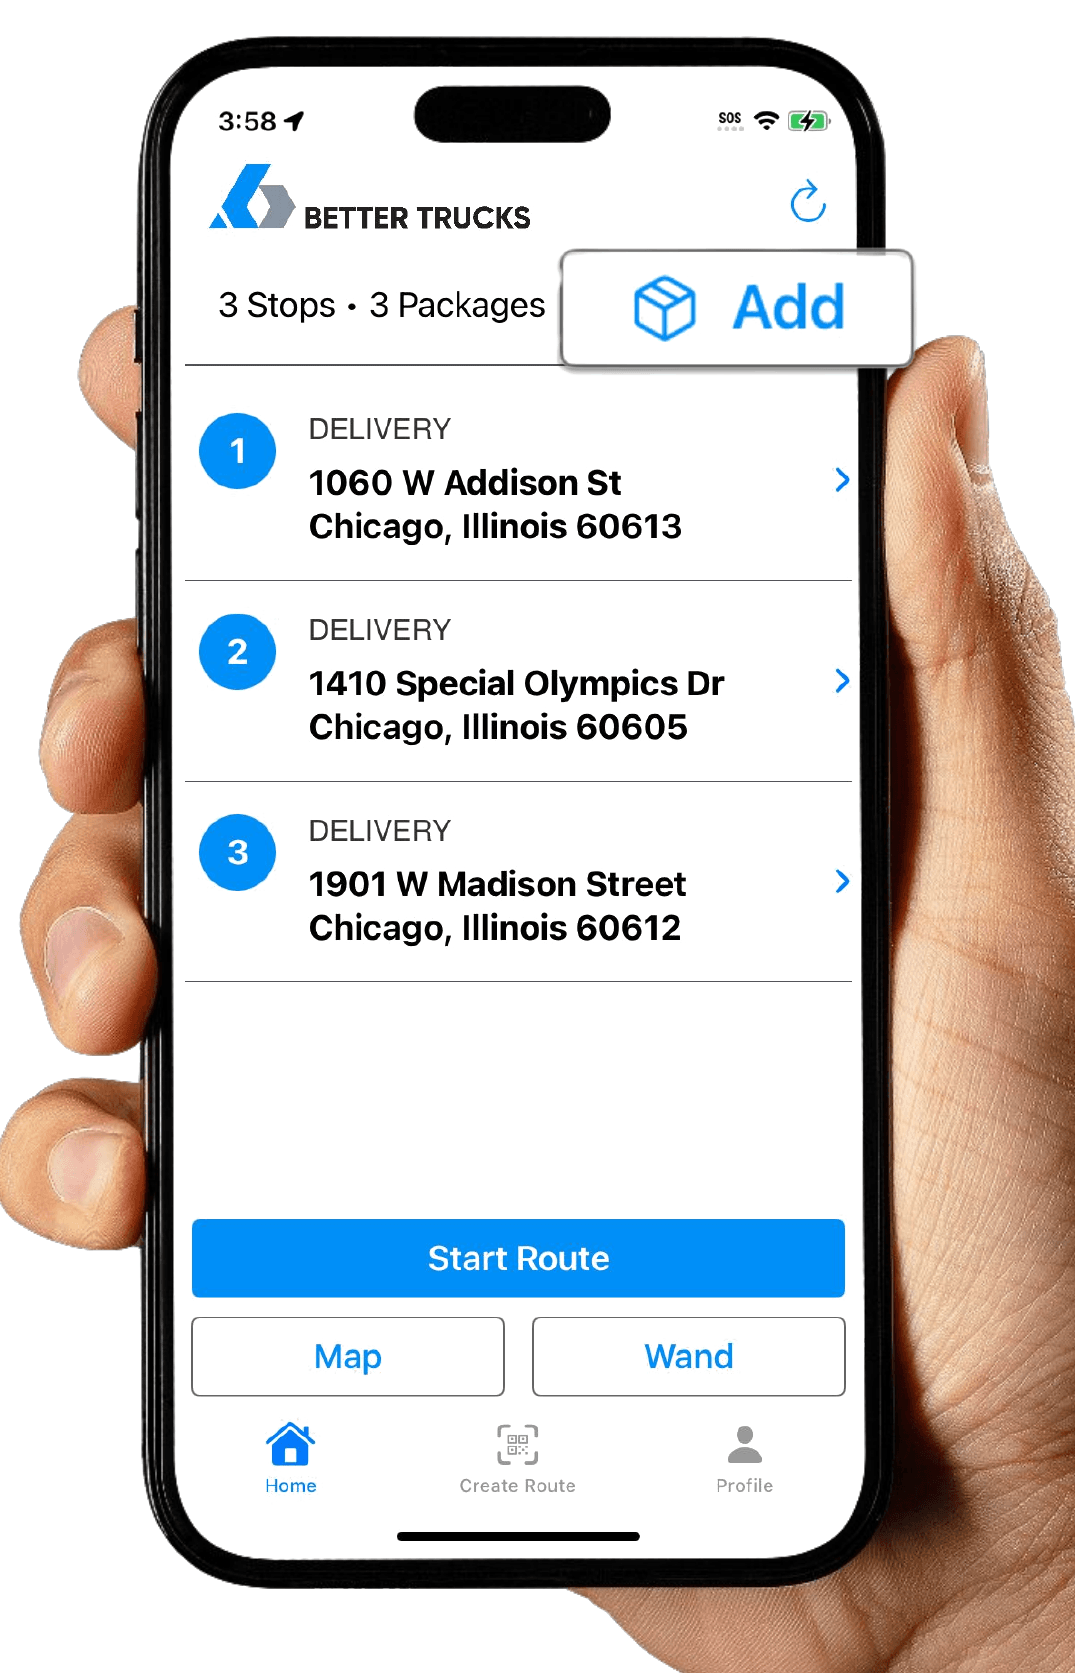 10
10Submit your request only after the route is fully resolved.
All packages must be delivered or returned first.
Select “Request a payment” and verify the completed shift.
Contact dispatch if an issue prevents submission.
11Both steps must be completed before the package can be released.
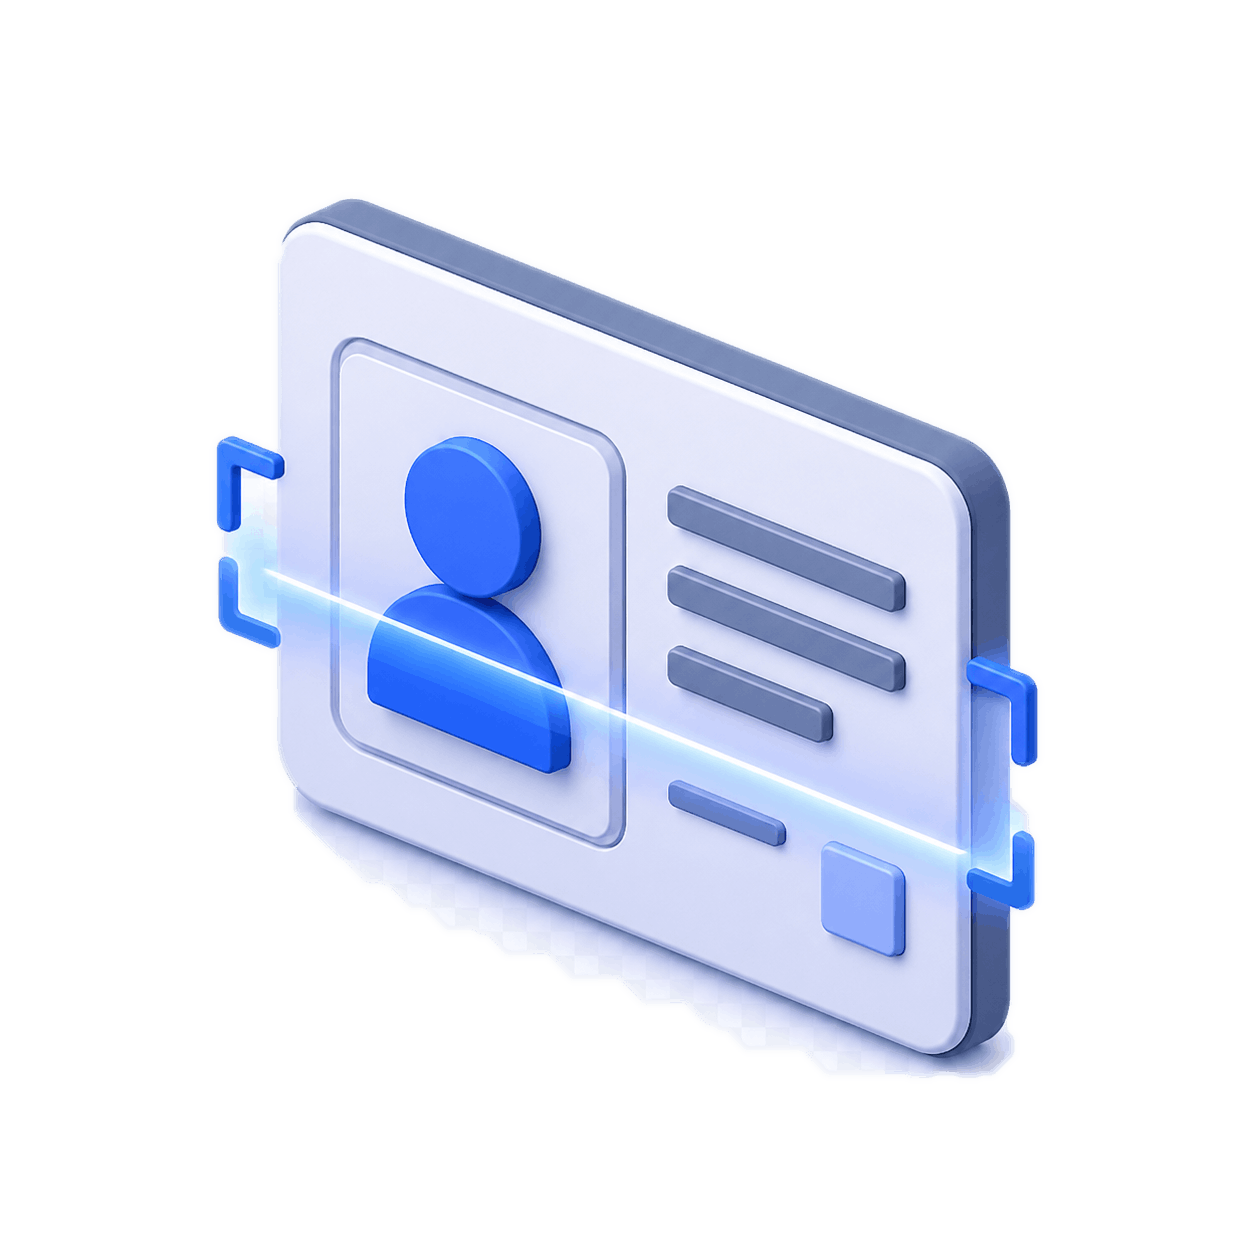
Scan a valid government-issued ID and confirm the recipient meets the age requirement.

Collect the recipient’s signature in the app before handing over the package.
12A strong proof-of-delivery photo helps the customer identify exactly where the package was placed.
Include the delivery point, nearby features and enough context to recognize the location.
Make sure the photo is steady, well lit and not blurry.
Do not take the photo from inside your vehicle or from too far away.
13Video and audio surveillance is active throughout the premises 24 hours a day.
Observe speed limits, restricted areas and facility signage.
Do not share entry credentials or allow unauthorized access.
Notify dispatch or site leadership of suspicious activity or safety concerns.
14When in doubt, pause and contact dispatch before completing the stop.
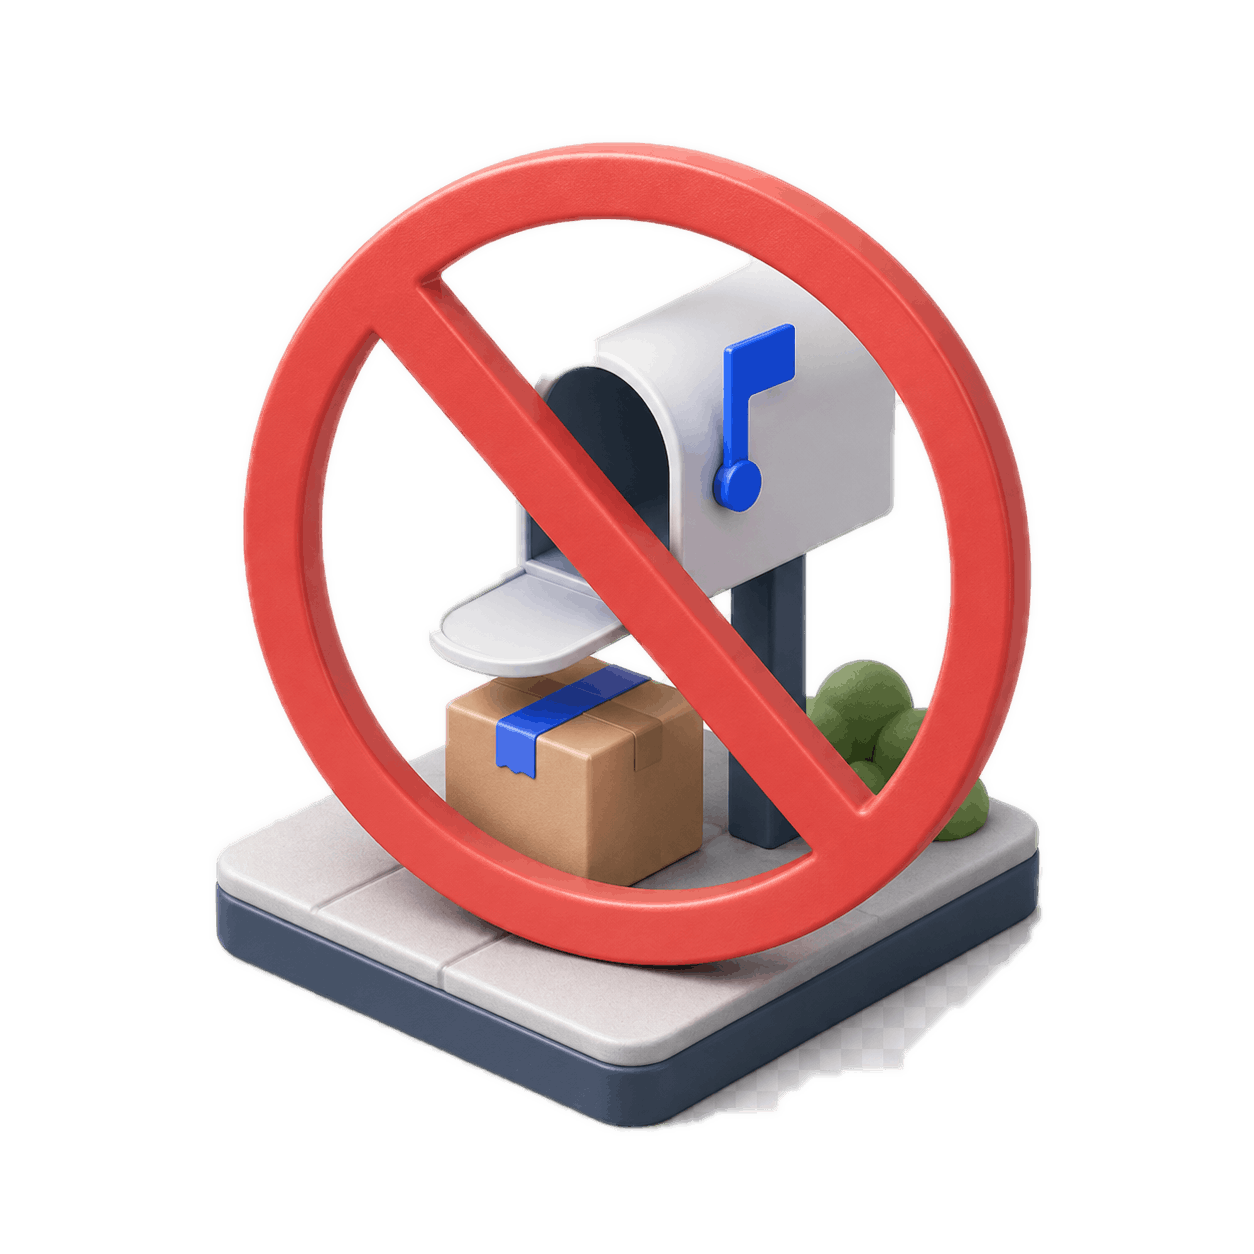
Use an approved, secure delivery location.
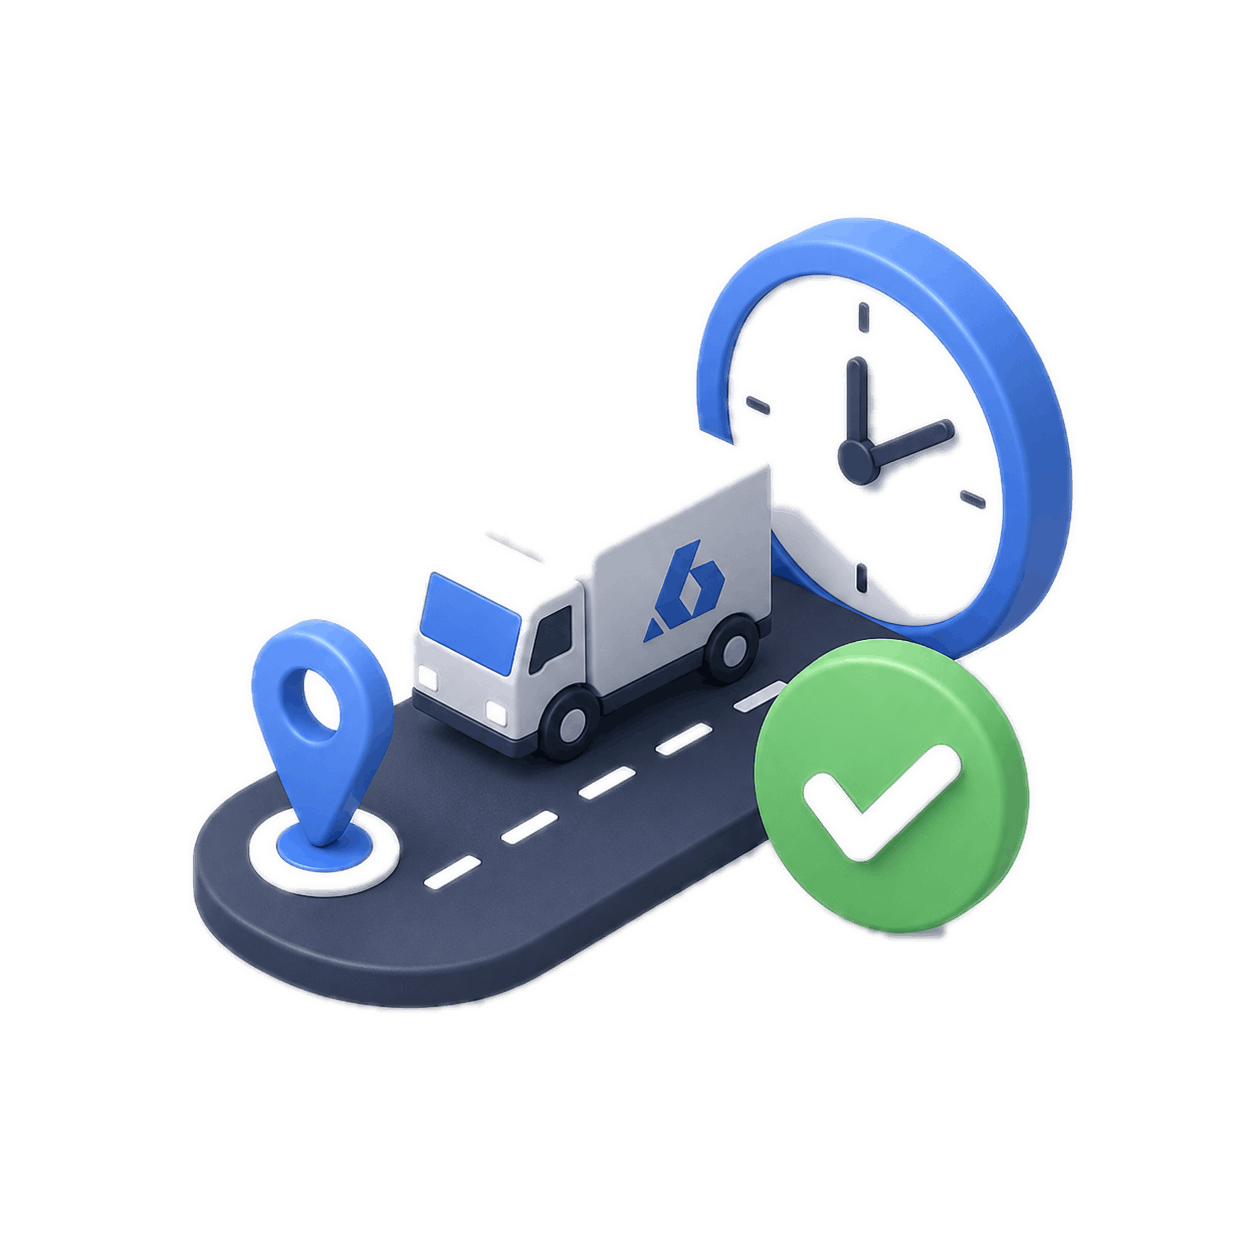
Escalate delays early and keep dispatch informed.
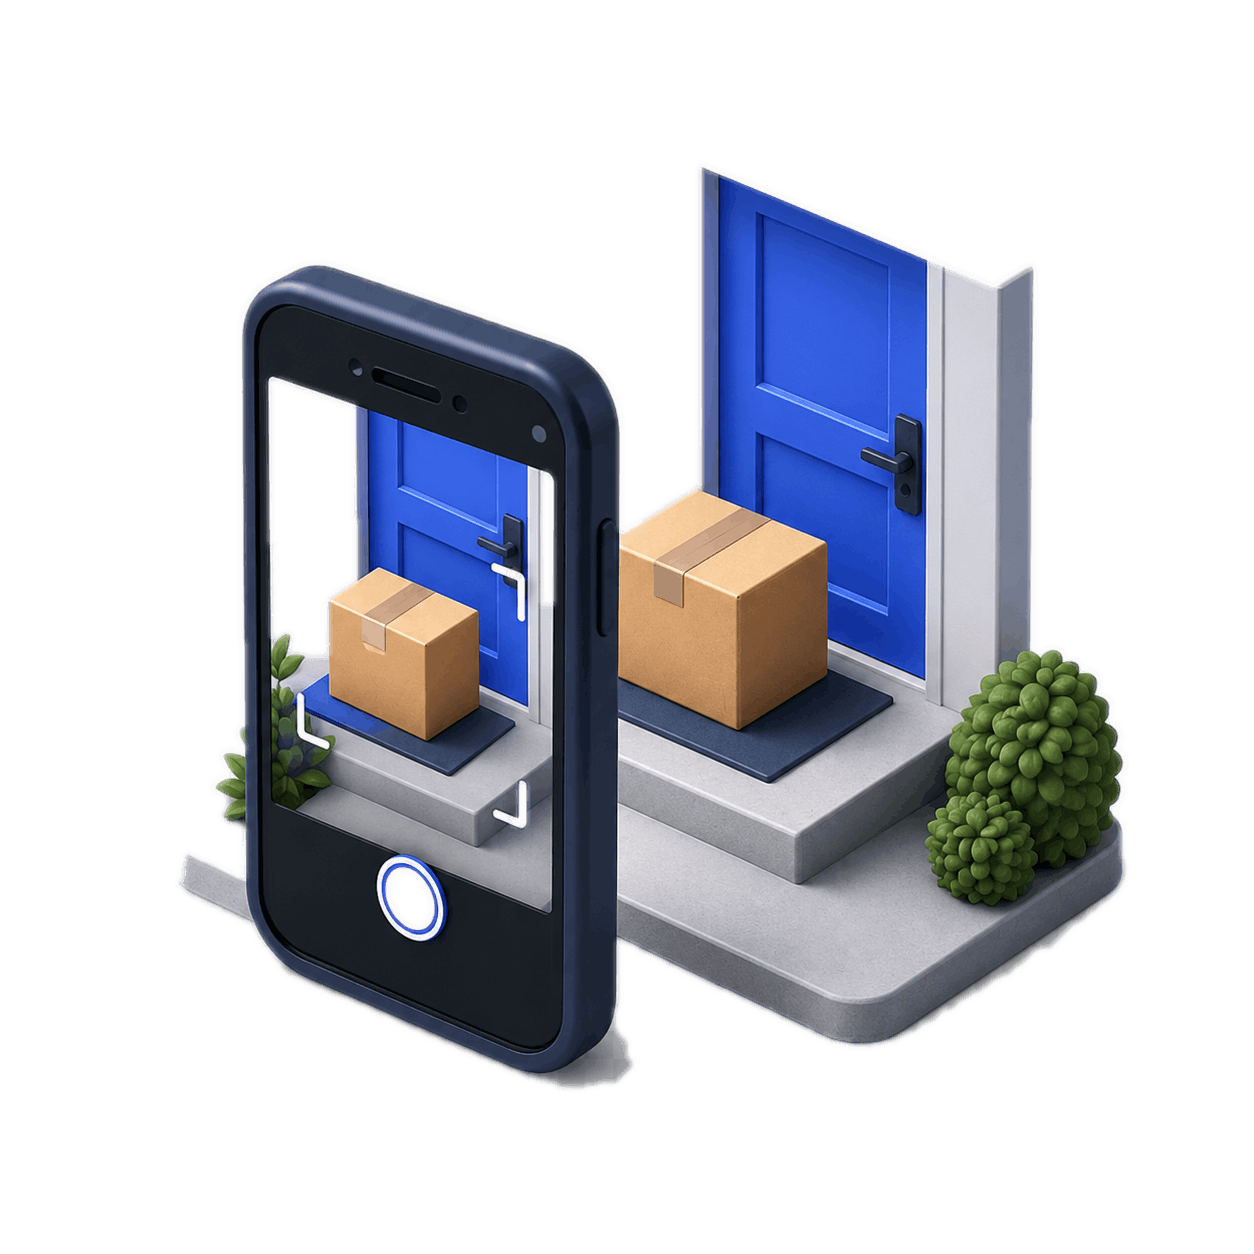
Show the package and enough surroundings to identify the location.
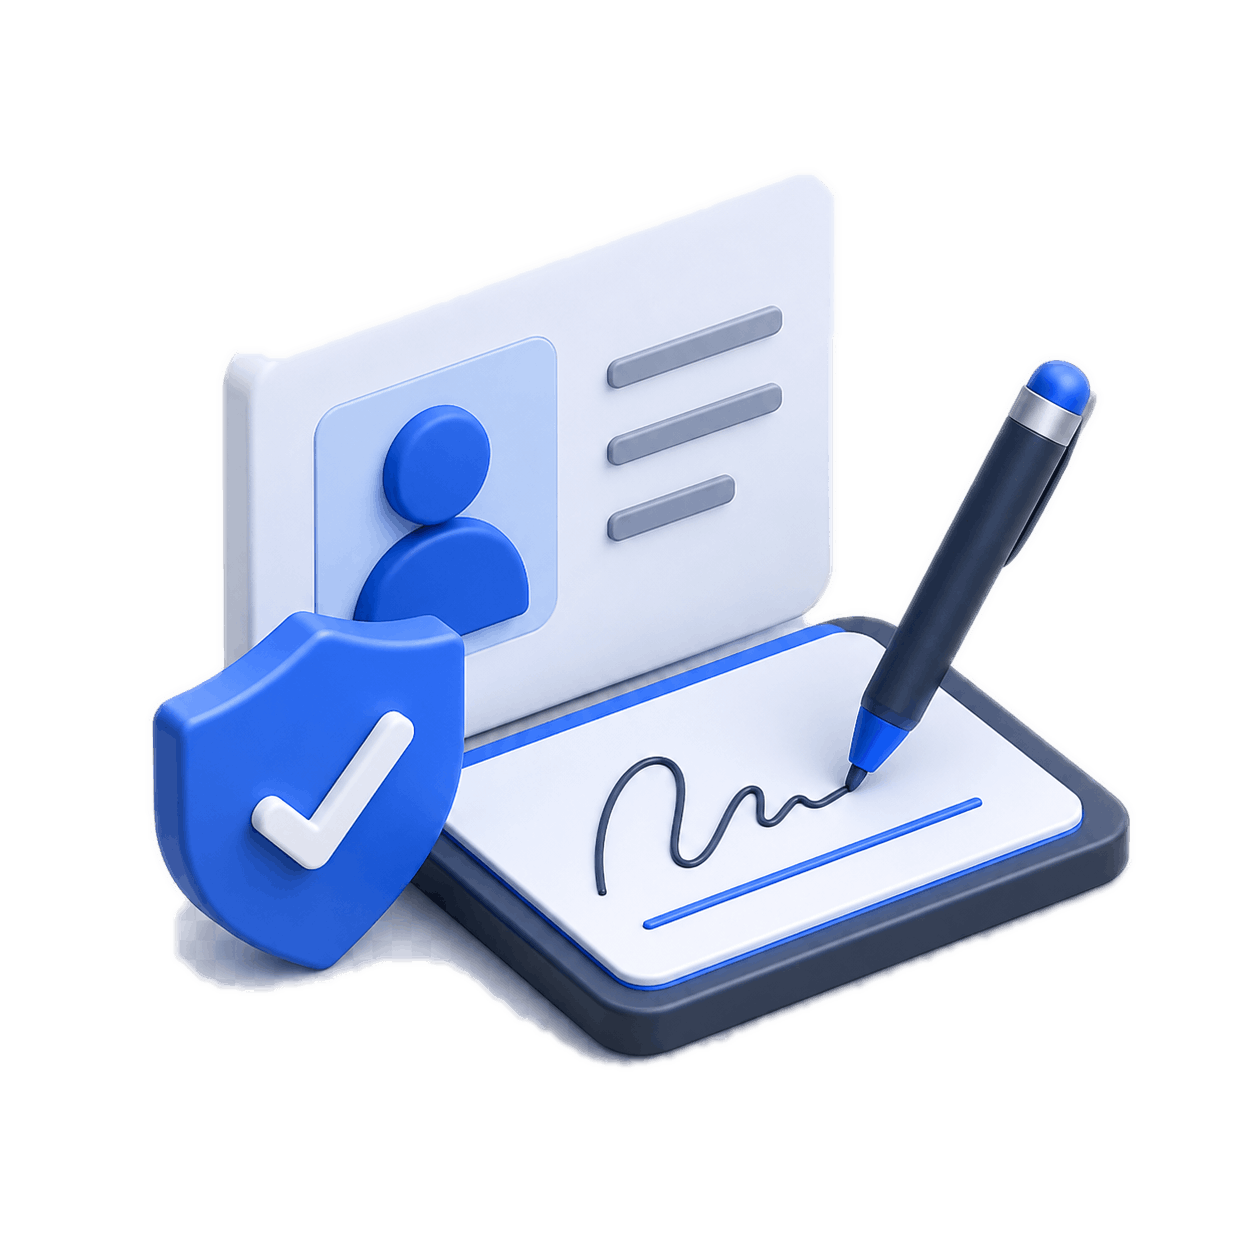
Complete both the ID scan and signature before release.
Handle carefully, place securely and report damage immediately.